Every smartphone these days come with option to share internet connection. This means that you can setup your phone as a wireless router. This helps a lot for those who are always on the go and need to connect their laptop or tablet to internet. With Jio, Airtel etc offering super low price data packs, internet sharing can save money. We have compiled a few guides for Vivo V5 Plus. Head to this page to see the full list of guides. Also, do not miss our “Recommended Smartphones” list that contains best smartphones for every budget.
Please go to this page if you are using new Vivo phone with FunTouch OS 9 : How to share internet/hotspot on your Vivo phone.
Go to Settings, click on “Personal Hotspot”
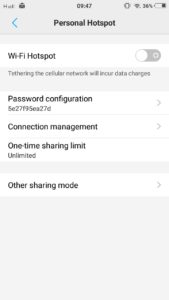
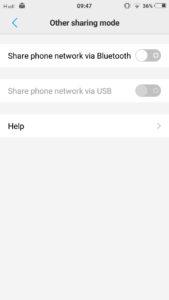
Go to ‘Password Configuration”.
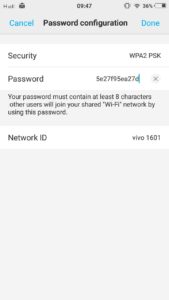
Make sure that Security is set to WPA2 PSK (or any other method, just make sure that it is not none).
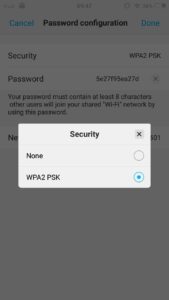
Create a password that you want to use. It is highly recommended to use password that is hard to crack. Change ‘Network ID’. You do not want to have ‘Vivo 1601’ as your Wi-Fi network name.
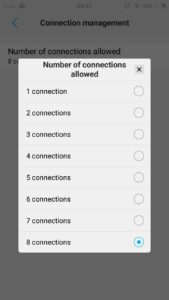
Go to Connection Manager, click on ‘Number of connections allowed’. It is recommended to limit this as you do not want unwanted connections to happen.
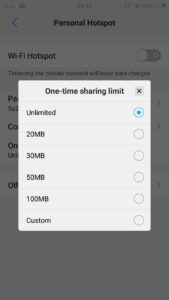
Setup how much data can be used per session from ‘One time sharing limit’. This way, you will not end up with excessive data usage in a single session.
To enable Wi-Fi Hotspot, pull up the quick settings bar. If you do not see Wi-Fi Hotspot, click on … icon, drag ‘Wi-Fi Hostpot’ icon into ‘Display switch’ list. If you do not see the icon, scroll the liste of icons left or right.
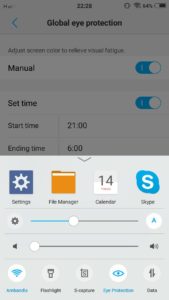
Now, tap on Wi-Fi Hotspot from pull up quick settings bar. If you want a device to be connected to this shared internet connection, use the ‘Network id’ and ‘password’ that you had set to authenticate.

